
Today I would like to welcome you into my spooky home.

 |
| Sofa Table Display |
 |
| Formal Living Room Mantle |
 |
| Double Double print from It's Always Autumn via Eighteen25 |
I love this print from It's
Always Autumn originally posted over at eighteen25 (check it out at here).
I printed this at my local Staples Copy & Print center for $1.69. Yes. One
dollar and sixty-nine whopping cents. Now that's frugal decor baby. I had this
printed as an "Engineer Print" and if you have been living under a
rock and don't know about Engineer Prints let me give you the down low. They
are cheap.....wait, did I already mention that? Okay, moving on. They are over-sized prints that are printed in black and white only and on a thin paper (think blueprint thickness). The print above is the
smallest size available at Staples and it is 18"x24" (the largest is
36"x48" for only $6.59!!!).

For the middle section of my mantle I

There's not too much to say about the right side of the mantle. The white vase is part of my every day decor and I filled it with small branches from my backyard that I sprayed with black spray paint. The lantern matches the one on the opposite side of my mantle. They were both purchased at a thrift store for $1 each. They are actually citronella lanterns but when I saw them I knew they would be fun decor in addition to their function fighting mosquitoes. I love it when that happens! :) The black mesh used throughout my decor is from the dollar store (this one from Dollar Tree). The dollar store is a great resource for decorations. Although some decorations are cheap and might look like they come from the dollar store, others like this mesh are just as great as similar ones sold elsewhere for 3 times as much! Score one for us cheapskates!
Now moving on to my tablescape......

I started off my sofa table by draping it with my dollar store mesh (does anyone know what this stuff is really called??? Maybe I should actually read the package next time. Novel idea.). Then I used my usual trick of shopping my house. Let's take a closer look.....

The metal and glass orb decoration (yes, that's the official name. as official as 'black mesh'. yeah.) always sits on this table. I simply added a few black centipedes from the dollar store woven through the wooden balls that sit inside and a dollar store raven to the top. The concrete looking planter/urn was moved from elsewhere in the house and filled with more Spanish moss (still using the same bag) from the dollar store and topped with a raven and a few spiders and bugs. Small tip when filling items like the urn above: Instead of filling from top to bottom with the moss, conserve moss (or other filler) by wadding up a piece of newspaper or similar item and placing it in the bottom of the urn. That way you will only add enough moss to the top to cover the newspaper ball, using far less than you would have.

I printed the two bottle labels at home using my printer. There are many, many fabulous resources online. Search Google images for Halloween labels and you will find more than you know what to do with. The two I used here were found here and here. Next I filled a Walmart glass jar that I already had (big surprise!) with more Spanish moss and skeleton heads (12 pk $2.97 at Walmart), and placed a dollar store glittered pumpkin on top of a candlestick I already had (are you sensing a theme here?).

Next I printed Book covers and spines that I found at Tip Junkie onto painters paper. You know the stuff....it comes on a long roll and you spread it out when painting trim to protect other surfaces. Clear as mud? Anyway, I cut it to fit in my printer and printed the book covers and spines and lightly taped them to books I already have in our family collection. These covers will come off and I will put the books back on our shelf after Halloween. If you wanted to leave your books covered for use year after year, you could find books at garage sales of thrift stores for around a dollar. The picture on the far right of my tablescape was printed from the internet. I cannot for the life of me find the source anywhere. Any. where. If anyone can give credit to the proper source please let me know. The photo is sitting in a matting and frame I got for $1.50 at DI.
If you're still with me you're a trooper! Moving on to the last spot....my formal living room mantle:

The lighting is horrible in my formal living room so forgive the poor photos. You'll get the idea though. As you may have guessed, I started with dollar store 'black mesh', shopped my house for some decor and accessorized with a few dollar store and thrift store finds. Cuz that's how I roll.

More fun bottles! The one to the left was $.75 at DI, the one in the middle was donated to my cause from friends and the one to the right is from.....wait for it.....wait for it.....yep, you guessed it, my home! You're getting good at this! Yep, it's bubble bath. I opened the bathroom cabinet and there it was.....all green and looking like armadillo bile. Like I would know. But it works for me. Label here.

For fear of sounding like a broken record let's make this brief: White dish shopped from elsewhere in my home (originally from DI $2), same $1 bag of Spanish moss used to fill only the top part of the dish, yet another raven (love them). Skull $.97 from Walmart.

Middle of mantle: Books from my home, round thrift store frame $1, bat printed from The Graphics Fairy here, dollar store glitter pumpkin.

Wine bottle covered in twine (gift from my lovely and talented daughter Brittany), thrift store bottle $1 (I think I may have squealed out loud when I found this in DI. maybe.) and a printable from Lil' Luna with a skull image originally from none other than The Graphics Fairy, which was of course framed with a frame from elsewhere in my house. The print will be switched back out after Halloween and a Thanksgiving print will take it's place. I'm sure I'll share that one too so be sure to check back with us soon!
One last little corner of my home......
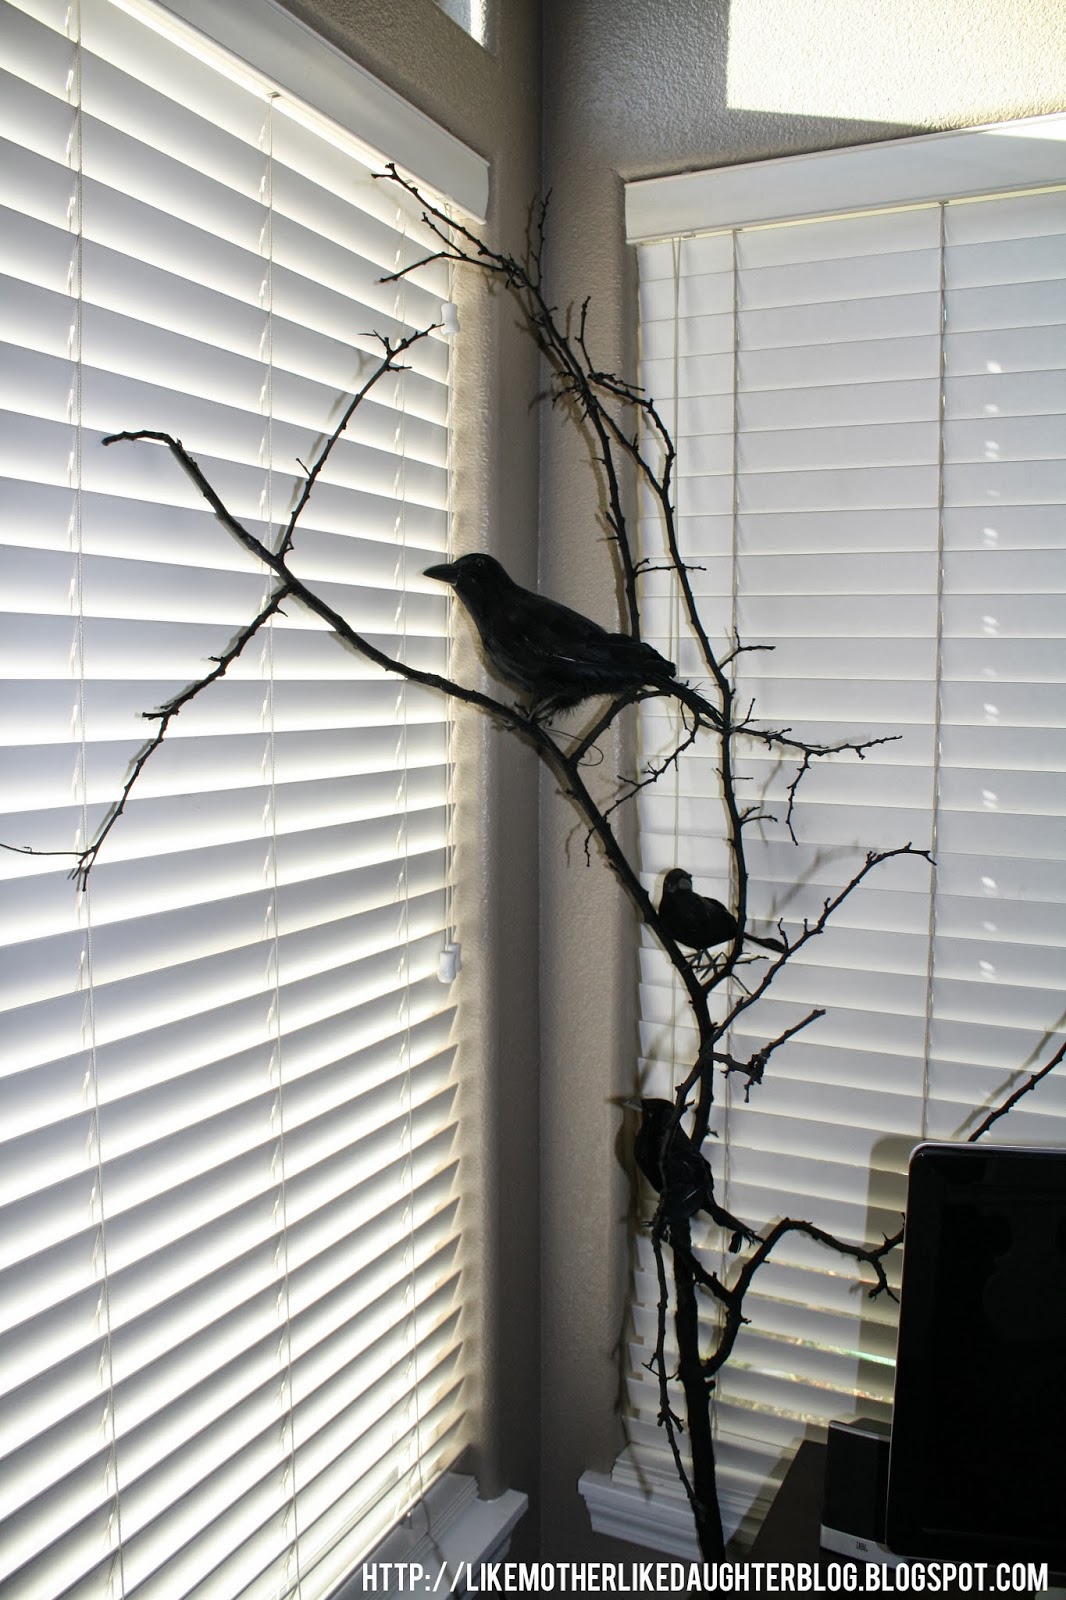
A broken branch painted black is a perfect place for my friends the ravens to perch.

And lastly, let's take a look at my front door (that seriously needs to be sanded and stained again)......


A dollar store creepy door knocker adds an spooky touch to my otherwise tame front porch.

Whew! Thanks for sticking with me. I hope it was helpful and gave you a little inspiration to have a "boo"tiful home of your own this Halloween! Check back with us soon for more great decor and DIY ideas and don't forget to come back so you can link up to our "real" blog once it's up and going!
Have a "spook"tacular Halloween!

Awesome Blog you guys!! It seriously helps people like me who want to decorate their house cute, but can't afford to always shop tai pan or michaels!! Love It!!
ReplyDeleteThanks Courtney!! That's just what we wanted to do! I'm so glad you liked it!
DeleteYour blog is fabulous! Just have a few halloween decorations here and there that I picked up for pennies a few days after halloween last year! Aren't you proud of me? Lol You give great advice, you gals are so talented! Can't wait to read more! Keep it coming. <3
ReplyDeleteThank you Allie! Yes, I'm so proud of you!!! Buying decorations on clearance after the holiday is one of my favorite ways to save on decorations! Good job!!! I typically don't decorate much for Halloween either but my kids really get into it so I went for it this year. It's a holiday I wouldn't spend a lot of money on but by purchasing only at the dollar store and thrift stores and just moving things from elsewhere in my house, I only spent around $25 total! Now I'm wondering why I didn't decorate more for Halloween all these years!
ReplyDeleteLOVE! You are so good Colleen! :-D Thanks for the inspiration!
ReplyDeleteYou're so sweet Gaylene! I'm so glad you liked it!
DeleteI'm so glad you are starting a blog. Your house looks like something out of a magazine. It is so beautifully decorated! I can't wait to hear some of your decor secrets. :)
ReplyDeleteThanks Sara! I will be sharing a lot of the "How To's" of decorating as well as many DIY projects I did within my home so stay tuned! If there is any part of my home in particular that you want me to share let me know and I'll try to address it in an upcoming post. Thanks for stopping by!
Delete